CentOSにOracle 11g R2をデプロイする 6.3 x86-64 (2)
Oracle 11g R2のデプロイと起動方法を記事httpsで紹介しています。://www.roamway.com/?p=9&preview=true
Then I decide to add oracle to system service and set startup automatically
1. switch to root user,editing oracle startpu script, as shown in the following
cd /etc/init.d
vim oracle
chmod +x oracle
2. Add oracle to system service, making it start automatically

3. In order to operate oracle more smoothly,we can set environment variable in global variable.
vim /etc/profile
Attach following content to the end of profile
|
書き出す ORACLE_BASE=/オプト/神託
書き出す ORACLE_HOME=$ORACLE_BASE/product/11.2.0/dbhome_1
書き出す ORACLE_HOME=神託
書き出す ORACLE_SID=orcl
書き出す ORACLE_TERM=xterm
書き出す 道=$道:ORACLE_HOME/置き場
|
保存して終了
vim /etc/oratab
Modify the letter “X” に “Y”,次の図に示すように:

保存して終了
switch to the directory “/opt/oracle/product/11.2.0/dbhome_1/bin/”
ソース/etc/ profile
cd /opt/oracle/product/11.2.0/dbhome_1/bin/
ソース/etc/ profile
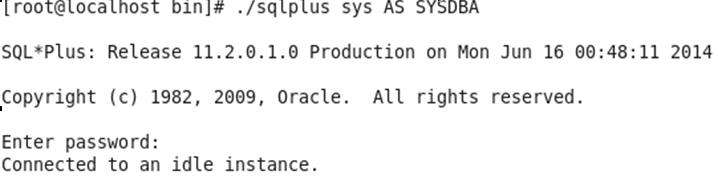
4. Login oracle from local
cd /opt/oracle/product/11.2.0/dbhome_1/bin/
./sqlplus sys AS SYSDBA
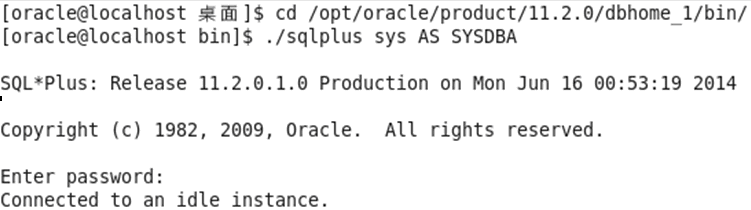
5. Log off root user,login system by oracle user
cd /opt/oracle/product/11.2.0/dbhome_1/bin/
./sqlplus sys AS SYSDBA
So far we have finished installing oracle 11gR2 in CentOS 6.3 x86_64